 Smart Home Forge
Smart Home for Renters: Best Devices That Don't Require Wiring or Drilling
Build a smart home in a rental — which devices need no permanent changes, how to handle lease restrictions, and what to take when you move.
Renting doesn’t mean settling for a dumb home. The majority of smart home devices available today need no wiring, no drilling, and no permanent changes — they plug in, screw in, stick on, or sit on a shelf. When you move, everything comes with you.
The real challenge for renters isn’t finding devices that work. It’s knowing which categories to skip entirely, how to handle the gray areas (locks, thermostats, wall mounts), and how to build a setup that travels with you from apartment to apartment.
The Renter-Friendly Rule
Before buying any smart home device, apply this test:
- Can I install it without tools? Plug-in, screw-in, and adhesive-mount devices are always safe.
- Can I remove it without leaving marks? If removal requires patching holes or repainting, it’s probably not worth the risk.
- Do I need to keep the original hardware? If you’re replacing something (light bulbs, a lock cylinder), store the originals in a labeled box. You’ll need them at move-out.
If a device passes all three, you don’t need landlord permission in most standard leases. If it fails any of them, ask your landlord first — and get approval in writing.
What Works in a Rental (No Modifications)
These device categories are fully renter-friendly. They require zero changes to the property and leave no trace when removed.
Smart Speakers and Displays
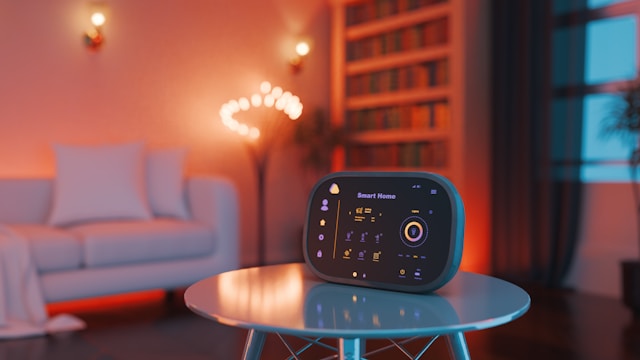 The easiest starting point. Plug it in, connect to Wi-Fi, done.
- Amazon Echo Dot (5th Gen) or Google Nest Mini — Compact, affordable ($25–50), and acts as the voice-control hub for everything else.
- Echo Show or Nest Hub — Adds a screen for video calls, camera feeds, recipes, and weather. Good for kitchens and living rooms.
- Apple HomePod Mini — Best for iPhone households. Doubles as a Thread border router for Matter-compatible devices.
No installation. No permission needed. Take it with you when you move.
Smart Bulbs
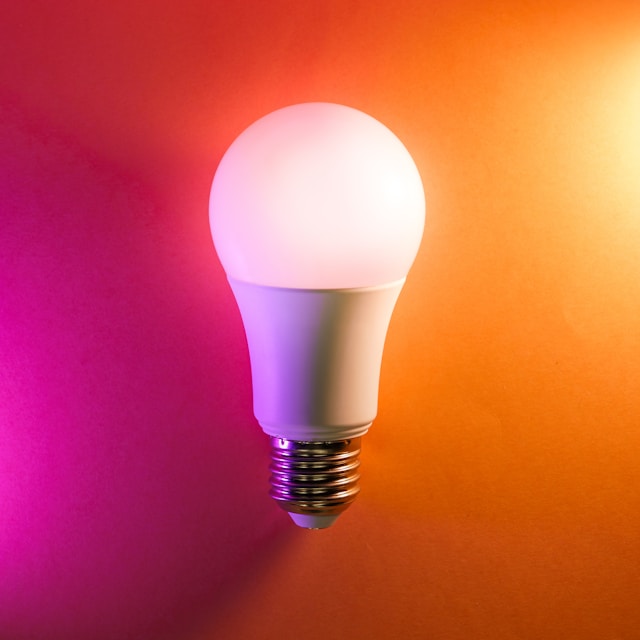 Screw in a smart bulb, screw out the original. Store the original bulb in a drawer for move-out.
- Dimmable warm-white — The most practical choice for bedrooms and living rooms. TP-Link Tapo, IKEA TRÅDFRI, and Wyze offer reliable options for $8–15 per bulb.
- Tunable white — Adjusts color temperature from cool to warm. Useful in home offices where you want bright cool light during the day and warm light at night.
- Color bulbs — Fun but not essential. The Philips Hue White Smart Light Starter Kit and Govee offer full RGB color, but they cost more ($15–30+) and most people settle on warm white 90% of the time.
Renter tip: If your apartment has recessed lighting with non-standard sockets (GU10, candelabra, etc.), check the socket type before buying. Most smart bulbs are standard A19/E26. Adapters exist but add bulk.
Smart Plugs
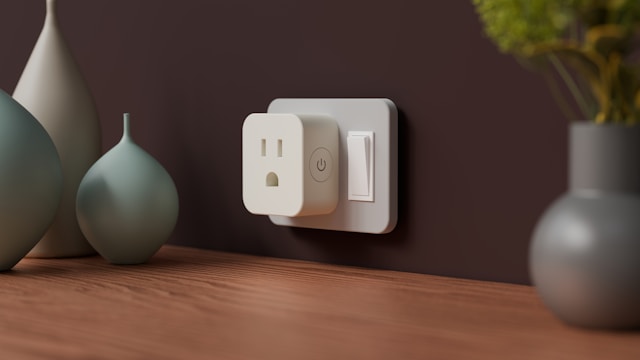 Plug into any outlet. Instant smart control for lamps, fans, coffee makers, and anything else with a physical power switch.
- Basic plug — TP-Link Kasa, Meross Matter Smart Plug, or Wyze ($10–15). Voice control, scheduling, remote on/off.
- Energy monitoring plug — Same features plus real-time power draw tracking ($15–20). Useful for identifying which devices cost you the most in electricity — relevant if you pay your own utilities.
- Outdoor smart plug — Weatherproof models for patio or balcony string lights ($15–25). Plug in, schedule, done.
Renter tip: Some apartments have limited outlet space. Look for smart plugs that don’t block the second outlet — slim-profile designs from Kasa and Meross handle this well.
Battery-Powered Sensors
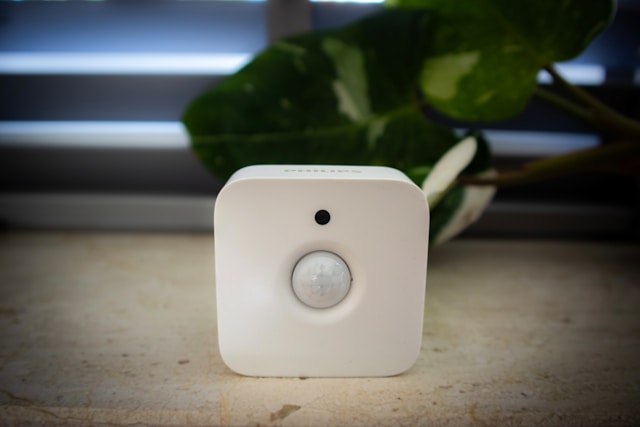 Small, adhesive-mounted, and completely removable. These are the building blocks of automations.
- Contact sensors — Stick one on your front door to know when it opens. Place another on a window. Get alerts on your phone, or use them to trigger automations (“if front door opens, turn on hallway light”). Aqara Door and Window Sensor, SmartThings, and Eve make reliable options for $10–15 each.
- Motion sensors — Mount in a hallway or bathroom for automatic lights. Adhesive or magnetic mount, battery-powered, removable. $15–25 each.
- Water leak sensors — Place under the kitchen sink, near the washing machine connection, or by the toilet. No adhesive needed — they just sit on the floor. $12–15 each, and potentially saves you thousands in damage liability.
- Temperature and humidity sensors — Track conditions in rooms that run too hot, too cold, or too humid. Useful for triggering fan automations or just knowing your apartment’s climate. $10–20 each.
Renter tip: Use 3M Command Strips instead of the included adhesive pads for contact and motion sensors. They hold firmly and remove cleanly without damaging paint or trim.
Battery-Powered Cameras
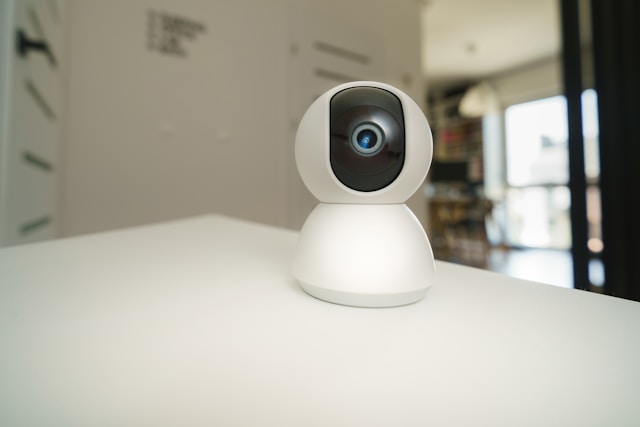 No wiring. Magnetic or adhesive mount. Wi-Fi connected.
- Indoor cameras — Wyze Cam, TP-Link Tapo, or Blink Mini sit on a shelf or mount with adhesive. $20–40 each. Some offer local storage on a microSD card — no subscription required.
- Outdoor/balcony cameras — Battery-powered outdoor cameras like the Blink Outdoor 4, Arlo, and Ring mount with screws or adhesive and run on rechargeable batteries. Useful for monitoring a balcony, patio, or parking spot. $60–120 each.
Privacy note: If you place cameras in shared spaces (hallways, building entrances), check your building’s policy. Some rentals restrict camera placement in common areas. Indoor cameras in your own unit are always your call, but be thoughtful about placement if you have roommates.
Subscription note: Many cameras offer free live viewing but charge monthly ($3–10) for cloud recording, motion zones, or person detection. Calculate the annual cost before choosing. A camera with free local storage may cost more upfront but saves money over time.
What Requires Landlord Permission
These devices are possible in rentals but involve replacing or modifying existing hardware. Always ask your landlord before installing, and keep the originals to swap back at move-out.
Smart Locks
Retrofit locks are the renter-friendly option. They attach to the interior side of your existing deadbolt — no drilling, no key changes, and the outside of your door looks exactly the same.
- August Wi-Fi Smart Lock — Fits over the existing deadbolt thumb turn. The most popular renter choice. Installs in 10 minutes, removes in 2.
- Level Lock — Fits entirely inside the existing deadbolt. Invisible from the outside. More expensive but completely hidden.
Full-replacement smart locks (Schlage Encode, Yale Assure) require removing the existing deadbolt and handle. This is technically reversible — you can reinstall the original hardware at move-out — but it counts as modifying the property. Get landlord approval first.
Important: Never change the keying on a rental lock without permission. Most retrofit locks work alongside the existing key, so your landlord’s master key still works.
Smart Thermostats
This depends entirely on your rental situation:
- Individual thermostat you control — If your apartment has its own thermostat on the wall and you pay your own heating/cooling, you may be able to swap it for a smart thermostat with landlord permission. Keep the original to reinstall at move-out.
- Centralized building system — If your building controls the heating/cooling centrally, you can’t install a smart thermostat. Use smart plugs with space heaters and fans as a workaround, paired with temperature sensors for automation.
Wall-Mounted Devices
Anything requiring screws into walls — smart switches, wired doorbells, wall-mounted camera brackets — is a gray area. Some landlords don’t mind small screw holes (they patch easily). Others consider any wall damage a lease violation.
The safe path: Skip wall-mounted devices entirely, or ask your landlord first. Battery-powered and adhesive alternatives exist for almost every category.
Building a Complete Renter Setup
Here’s a practical renter-friendly setup that covers the essentials without any permanent modifications:
Living Room
- Smart speaker or display (plug-in)
- 2–3 smart bulbs (screw-in)
- Smart plug on a floor lamp or fan
- Robot vacuum (sits on the floor, charges itself)
Bedroom
- Smart bulb with warm dimming (screw-in)
- Smart plug on bedside lamp
- Small smart speaker for alarms and voice control
Kitchen
- Smart display for recipes and timers (plug-in)
- Smart plug on coffee maker
- Water leak sensor under sink (sits on floor)
Entryway
- Battery video doorbell (adhesive mount) or shelf-mounted indoor camera
- Retrofit smart lock (attaches to existing deadbolt)
- Contact sensor on front door (adhesive)
Bathroom
- Water leak sensor near toilet (sits on floor)
- Motion sensor for nightlight automation (adhesive)
Total estimated cost: $250–400 depending on specific devices chosen.
Moving Day: Taking It With You
One of the biggest advantages of a renter-friendly smart home is portability. When you move:
- Swap back all original hardware — Reinstall original bulbs, remove the retrofit lock, peel off sensors. Everything should look like move-in day.
- Pack smart home devices separately — Small sensors and plugs get lost easily. Use a labeled bag or container.
- Reset devices before setting up in the new place — Factory reset everything and re-add devices to your ecosystem app at the new address. This is especially important for cameras and locks.
- Check the new apartment’s Wi-Fi — Your smart home is only as good as your network. Test Wi-Fi coverage in every room before placing devices. If coverage is spotty, a mesh router system ($60–150) solves it.
- Adjust automations for the new space — Schedules, sensor placements, and room assignments will need updating. Take 30 minutes to reconfigure after you’ve settled in.
Your ecosystem account, automations logic, and device preferences carry over — you’re rebuilding the physical placement, not starting from scratch.
Devices to Skip as a Renter
Some smart home categories aren’t worth the hassle or risk for renters:
- Smart light switches — Require removing wall plates and wiring. Use smart bulbs instead.
- Hardwired cameras — Need drilling and cable routing. Use battery or Wi-Fi shelf-mounted cameras.
- In-wall smart outlets — Require electrical work. Use smart plugs.
- Wired video doorbells — Need existing doorbell wiring or a transformer install. Use battery models like the Ring Battery Doorbell.
- Whole-home energy monitors — Require installation in the electrical panel. Use smart plugs with energy monitoring on individual devices instead.
- Built-in smart speakers — In-ceiling or in-wall speakers require cutting into walls. Use standalone speakers.
The pattern is clear: anything that goes inside a wall, ceiling, or electrical box is a homeowner purchase. Anything that sits on, plugs into, or sticks to a surface is fair game for renters.
Frequently Asked Questions
Can I install a smart lock in a rental?
Will my landlord care about smart home devices?
What happens to my smart home when I move?
Do smart home devices use a lot of electricity?
Can I use a smart thermostat in a rental?
Recommended Posts
Do You Need a Smart Home Hub? When to Use One and When to Skip It
Find out whether you need a smart home hub in 2026, when Wi-Fi or Matter is enough, and when Zigbee, Z-Wave, Thread, or local automations require extra hardware.
Smart Home on a Budget: Complete Setups for Under $100, $250, and $500
Three practical smart home setups at three price points — each one a complete, functional system that solves real problems, not a random list of cheap gadgets.
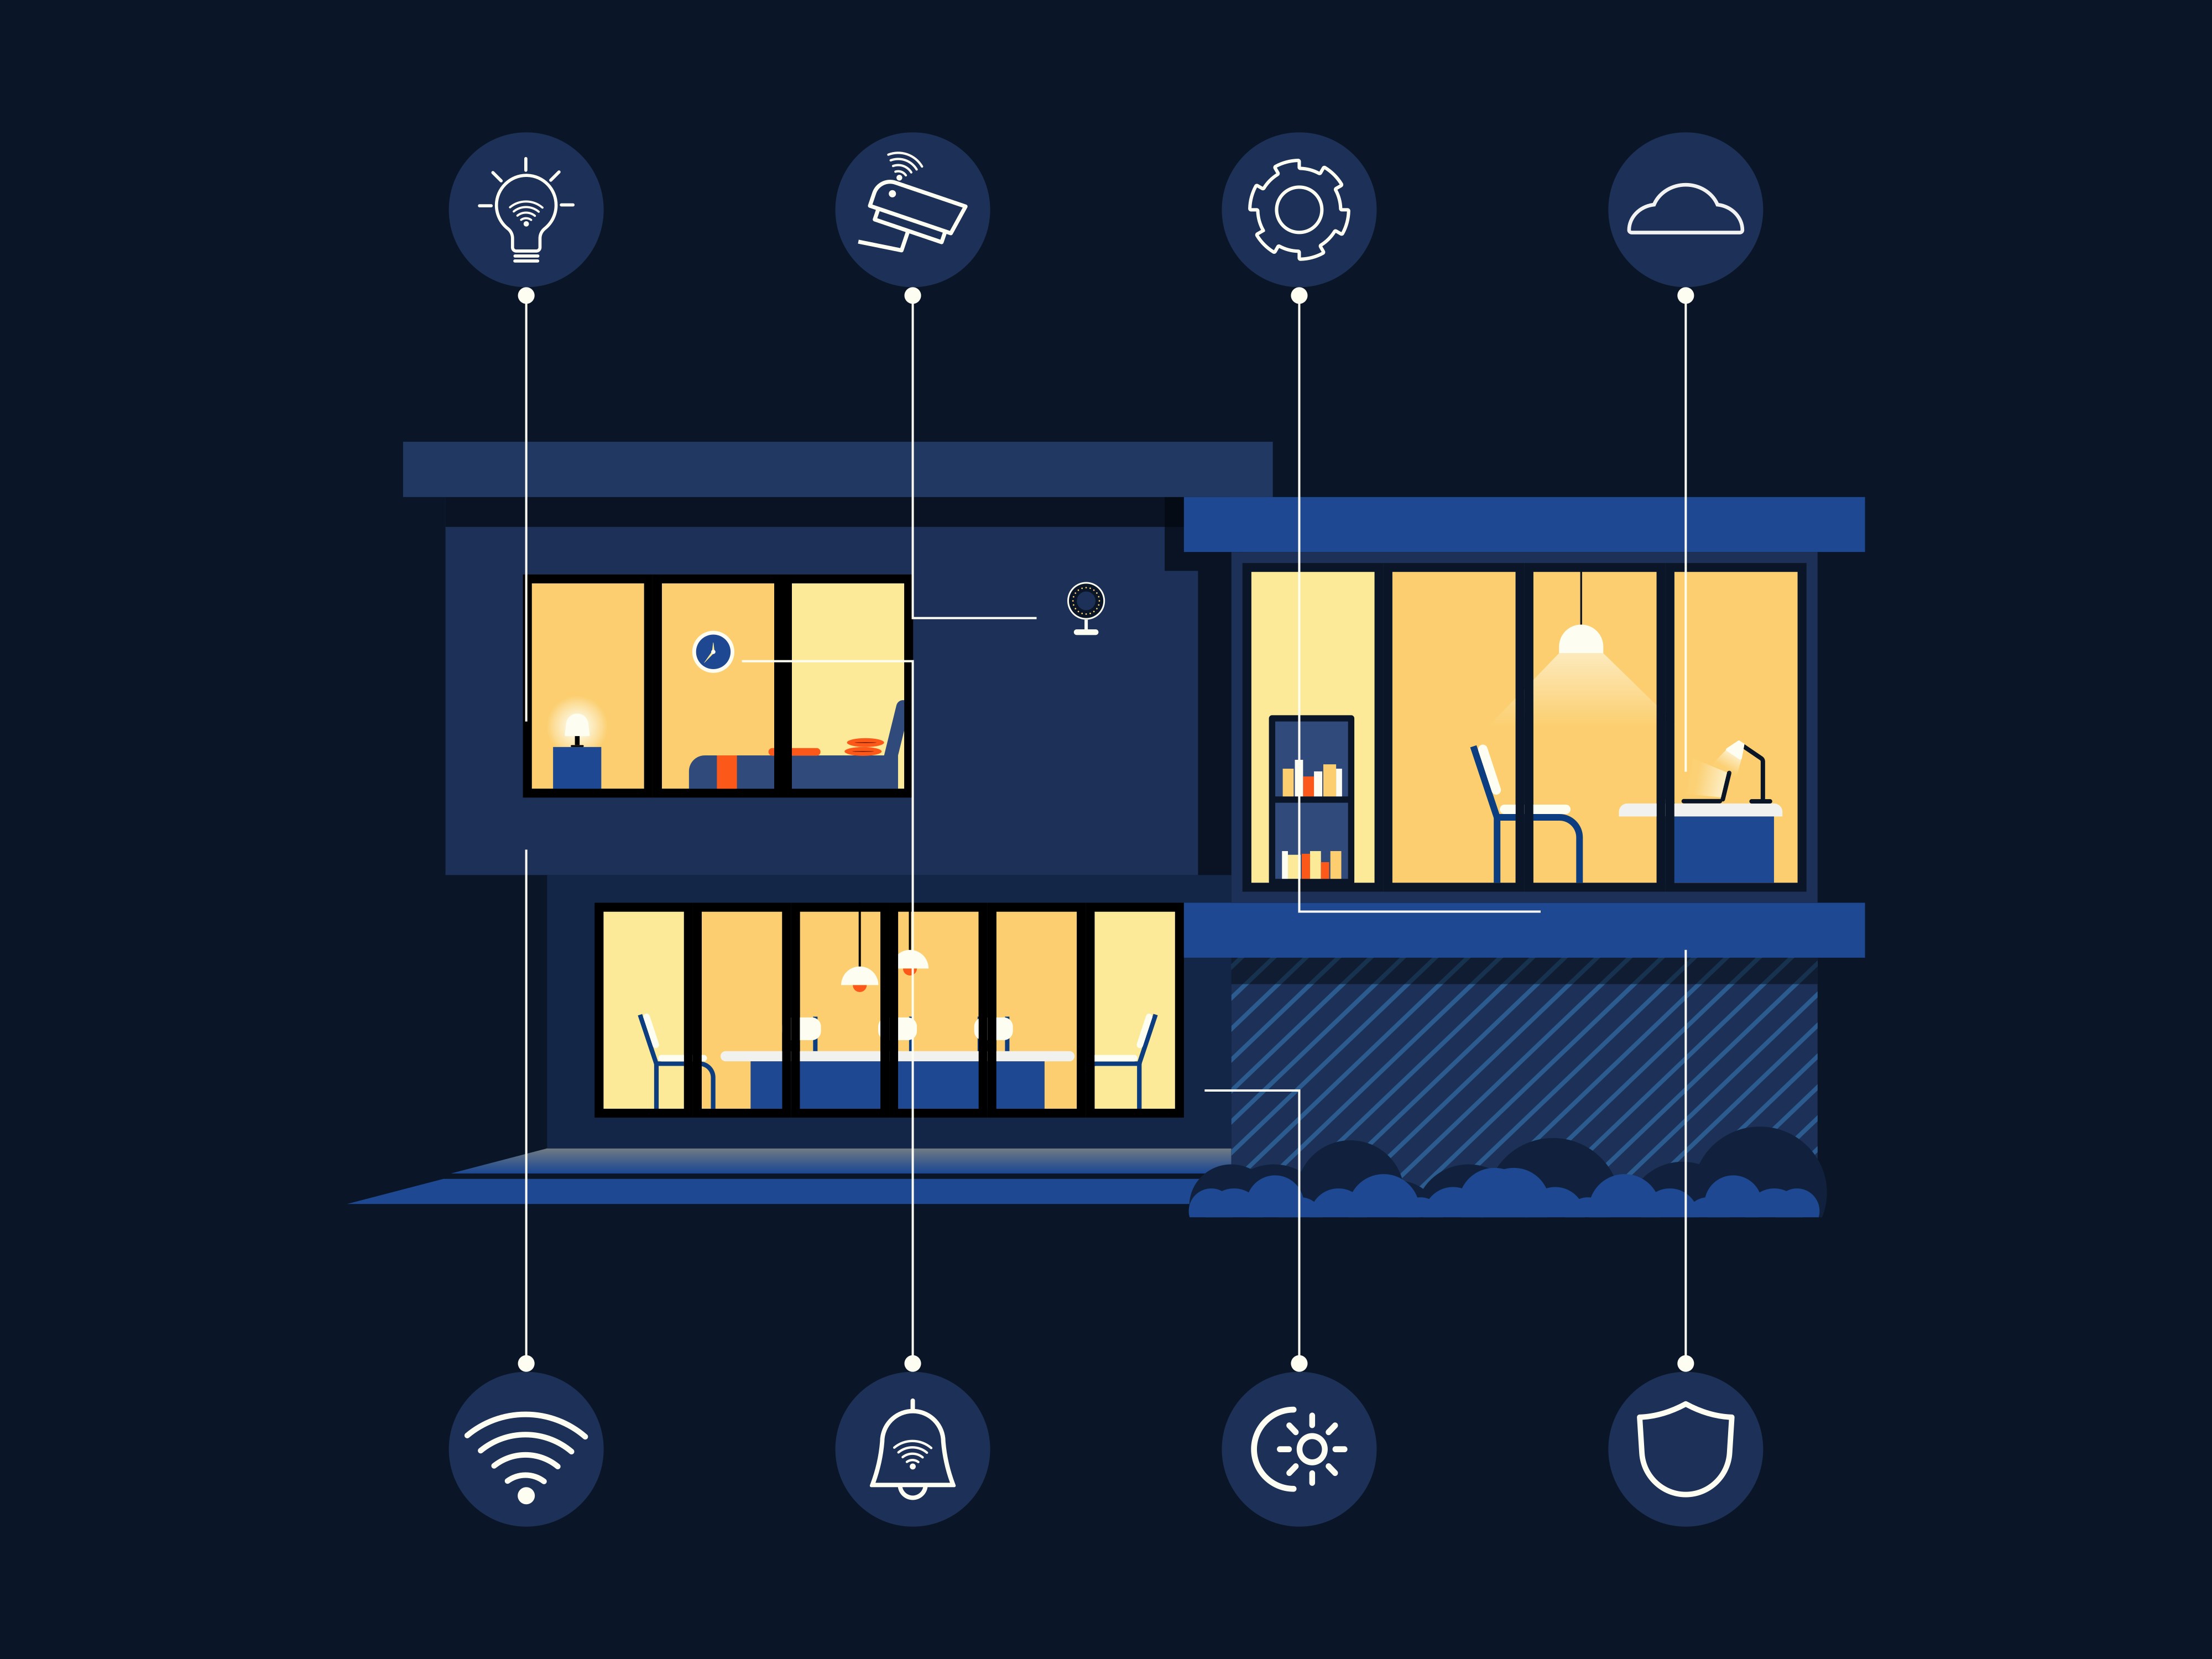
How to Plan Your Smart Home: A Room-by-Room Strategy Guide
A practical room-by-room approach to planning your smart home — what to prioritize in each space, which devices actually matter, and how to avoid buying things you won't use.